Backup Phase
The Data Platform Normalize Migration Wizard allows customers to backup their settings on their previous version of the User Console (i.e. 5.3x or 5.4x) before upgrading to 5.5.0 via a fresh install. Below is a list of the four types of User Console settings that will be backed up when using the Data Platform Normalize Migration Wizard:
- Analyzer Reports
- Interactive Reports
- Dashboard Reports
- Access Control (report sharing)
If your old Normalize version is deployed with a distributed configuration where the Data Platform and User Console are configured on separate systems, you will need to run the backup on each system separately then copy the backup files to the new environment.
When performing the Backup process during the Migration Wizard process, the following file types may contain some sensitive data:
- Data source files (IT sources, PO, and mashup)
- Norm.Configuration.config configuration file
If you wish to migrate the private catalog and private mapping, first create a backup from your 5.3x or 5.4x setup that has private catalog. See the “Restore Phase” process below to see how to restore your private catalog and private mapping after the Backup processes.
Before starting backup, please ensure that there are no running Normalize processes or catalog syncs in progress.
The Migration Wizard must be copied to the local file system on which you wish to perform your backup. If restoring to a different system than the one being backed up, the backup output folder must first be copied to the local file system of the target system on which it will eventually be restored.
To begin the Backup phase of the installation process:
- Double-click the Data Platform Normalize Migration Wizard icon on your desktop after downloading it from a location provided by Flexera Support.

- The Welcome screen opens:
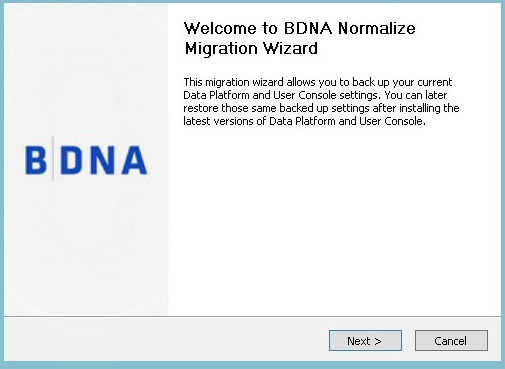
- The Welcome screen opens:
- Click Next . The Migration Options screen opens.
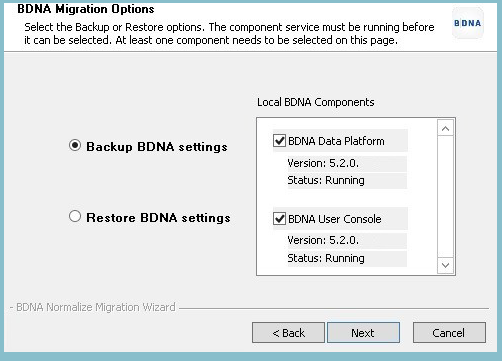
- Select Backup Data Platform settings and then select the check boxes for Data Platform and/or Data Platform User Console .
-
Under the Data Platform and User Console check boxes, the last version number (i.e 5.3x or 5.4x) must be showing and the status must register as Running in order to proceed.
-
- Click Next . The Database Information screen opens.
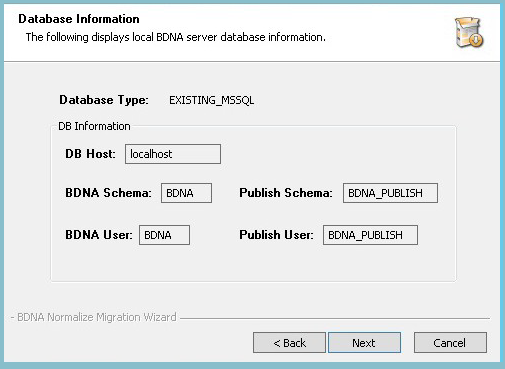
- On the Database Information screen, the host, schema, and user information is displayed.
- Click Next . The Ready Option screen opens.
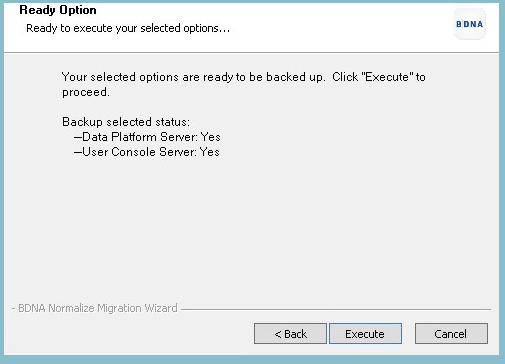
- If you are satisfied with your selections, click Execute . The Completed screen opens.
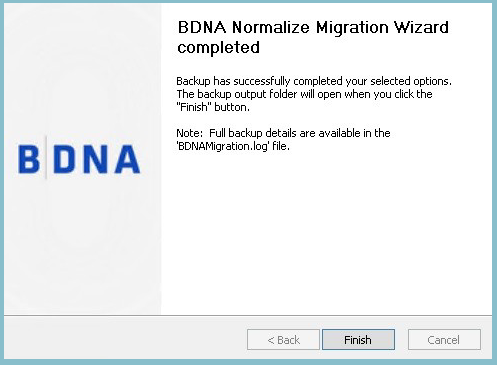
- Click Finish .
- After clicking the Finish button, the backup output folder will open.
- Copy the backup output folder to the new environment for the Restore process.